
Hi guys! Happy Friday 🙂
This week just went so fast, probably because it was only a 4 days week 🙂 and with the end of the week, we start a new month! As promised, I will be starting a Lord of the Rings CAL this month and I’m super excited about it.
However, before we start, I thought I should put together a photo tutorial for the stitch I’ll use for this CAL: the bobble stitch.
If you’ve been doing a lot of graphghans, chances are that you’ve already seen this stitch, or at least heard of it. This is what a finished square looks like.
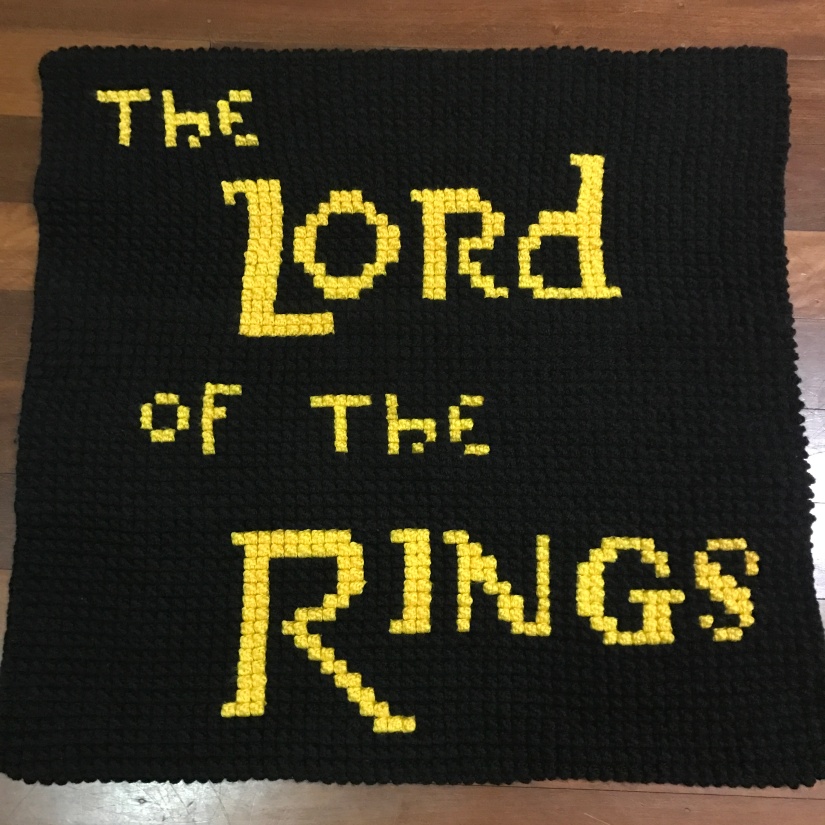
As you can see, each bobble is meant to be a square from the graph.
The first time I tried this stitch, I got a bit confused because the whole graph is worked from the back, which means that when you do a bobble, the textured part will be facing out, not towards you. Then in order to have all your bobbles facing the same way, you need to do a row of sc (U.K. dc) in between each row of bobbles.
- The first thing to do when starting a bobble stitch graphghan is to make a chain. To know how many ch to do, multiply the number of squares from your graph by 2.
For example, my graph is 60×60 squares, I want to chain 120.
- Chain 1 (this is your turning chain) and sc in each chain, starting from the second chain from your hook.
If we continue from the example above, you will now have 120 sc.
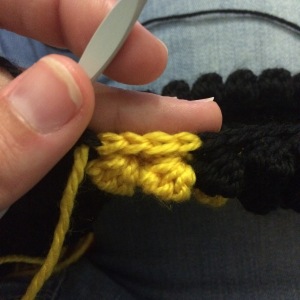
- Now comes the tricky part: the bobbles. You want to chain 3 (turning chain) and dc 4 stitches together (U.K. tr 4 together) in your first sc. Then sc in the following sc. This will make your bobble ‘pop’. For each bobble, you then need to dc 5 together (the chain when you turned counted at your 5th dc).
Click on each picture for the caption.


- The only thing left to do is to follow your graph and change colours when needed. When you change colour, I would recommend changing at the end of the sc after the bobble.
Click on each picture for the caption.


If we continue on our example, you will end up your row with 60 bobbles (5dctog + 1sc)
- The next row, simply sc all the way back, and don’t forget your colour changes!
You are back to 120 sc and you are ready for the next row of bobbles!
I hope that this photo tutorial was helpful, if you have any question, don’t hesitate to leave me a message, and if you want a video I highly recommend Sarah’s video on Repeat Crafter Me, that’s how I learnt!
Of course, you can join the CAL without using the bobble stitch, there are lots of different ways of doing a graphghan and I can’t wait to see what you guys will come up with 🙂

Thank you for doing a picture tutorial!
No worries, I hope it’s helpful 🙂
I’ve never seen this kind of graphghan! I’ve seen the bobble stitch but never worked in this way. I love it. I’ve been crocheting a long time and I love learning and being inspired by something new to me 🙂
I’m so glad that you are inspired by this 🙂 if you give a try to the bobble graphghan I would love to see pictures
Thank you for having a photo tutorial!!! I live in rural America and we don’t get internet speeds out here fast enough to watch videos. Everyone just assumes people can click on a video. They can’t. Written photo tutorials take time and expertise so I know when I find them I’ve found d an expert. Can’t follow repeatcrafterme bc all she has is videos. So thank you for this!!!!! And like I knew…expert quality. Only true experts take time to write out their instructions. Videos are lazy instruction tools on behalf of the instructor. Have you noticed that all those outstandingly beautiful foreign crocheted items all come with written instructions? That’s bc any expert crocheter writes out their pattern. Anyway, You have both so I knew you’d be excellent. Thank you from rural America!!! THANK YOU.
Hello Kathryn, thank you for your wonderful message it really made my day. I am so glad I was able to help you. If you need any other photo tutorial I would be happy to make more ☺️ I hope you have a great day 😘